Boat cover support poles and stopping water pooling
How a boat cover support pole stops water pooling: why covers sag, where poles go, how many, strap systems, tension, snow limits and removing poles to tow.
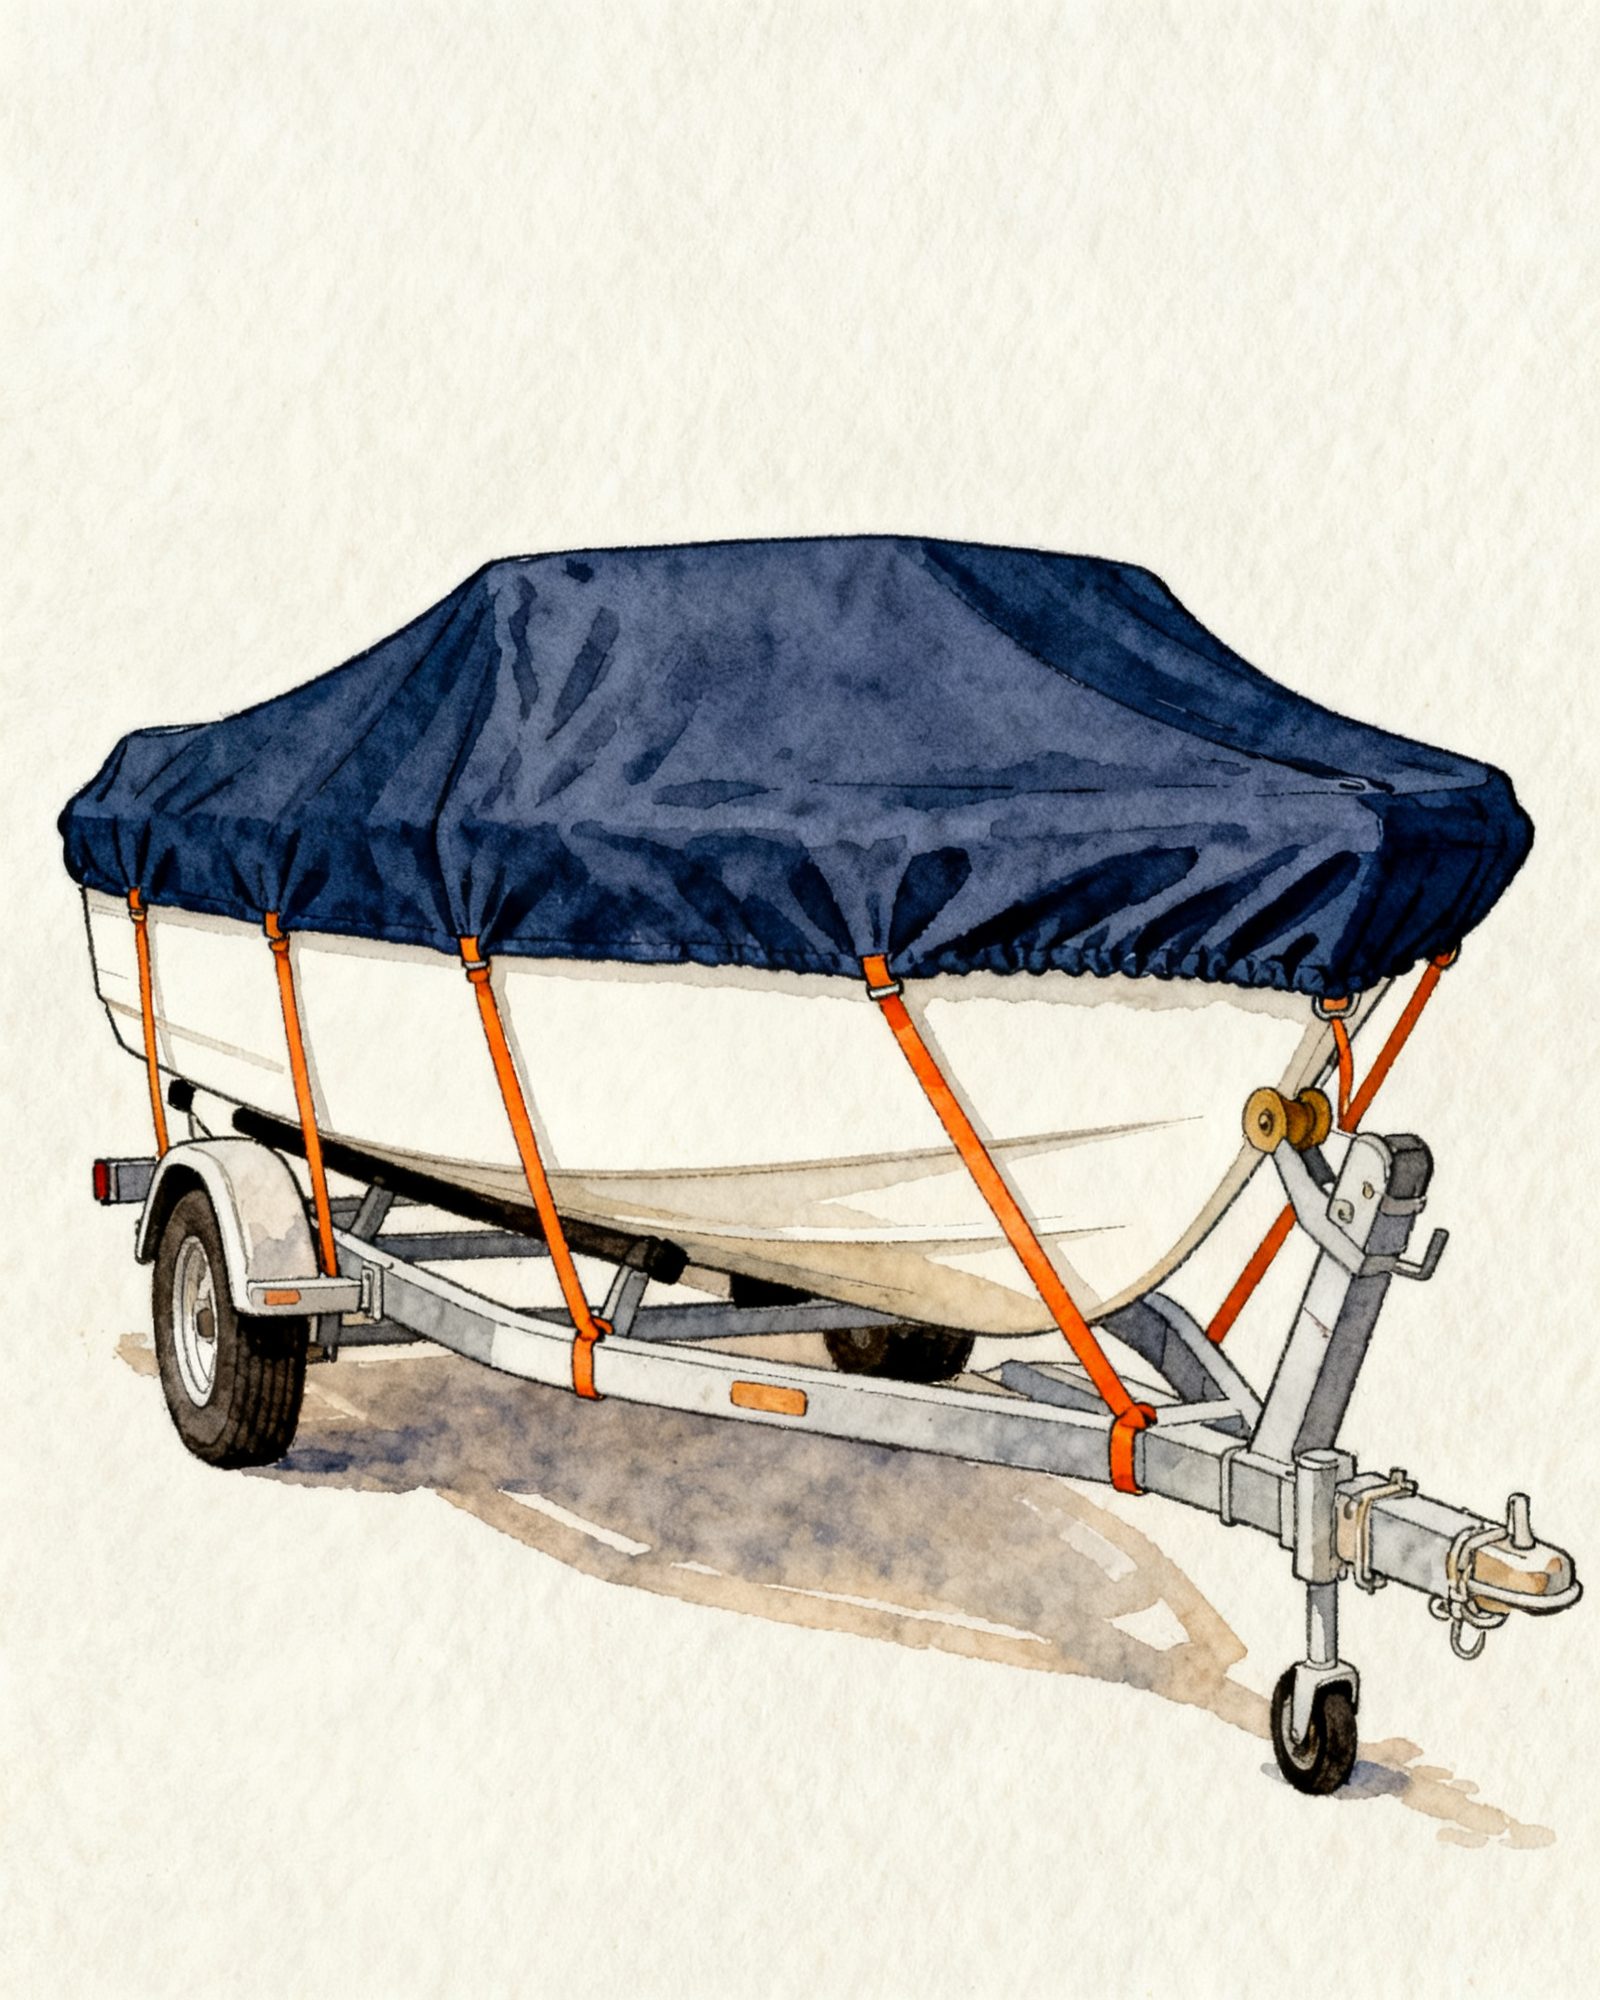
A boat cover support pole is an adjustable pole that stands on the deck under the cover and pushes the fabric up into a peak, so rain runs off instead of collecting in a sag. Water pools wherever a cover has nothing under it, most often between the windshield and the stern, or between the windshield and the bow. One pole goes under each of those low spots, raised until the fabric slopes away on all sides, with the straps tightened afterwards. Poles handle rain on a cover that fits, but they are not a snow structure: in a BoatUS Foundation winter test, the poles supplied with covers broke under pooled water. They also come out before the boat is towed.
Why water pools on a boat cover
A cover is draped over high points: the bow, the windshield frame, the motor and the transom. Between those points the fabric hangs over open space, and anything that sags lower than its edges becomes a bowl. The usual places:
- The cockpit behind the windshield. The biggest open span on most runabouts and bowriders. A cover maker’s instructions name “the area between the windshield and stern or windshield and bow” as the low areas a pole should support.
- The open bow of a bowrider, between the windshield and the bow rail.
- Flat decks. A pontoon or deck boat has a large flat area with little to shape the cover, so it pools more easily; the guide to pontoon boat covers covers that case.
- Loose fit. A universal cover that is too long or too wide for the boat leaves slack fabric that collects water. Getting the size right starts with measuring the boat for a cover.
- Strap low spots. A strap that pulls down across the middle of the cover can create a dip of its own right where it crosses.
Once a small puddle forms, its weight stretches the fabric, the dip deepens, and the next rain adds more. That is why pooling gets worse through a season rather than staying the same.
What pooled water does to a cover and a boat
The BoatUS Foundation kept nine covers on powerboats from 17 to 25 feet through a Maryland winter in its study, reported by Waterway Guide on BoatTest. Its findings show what pooling costs:
- Supports fail. “The supports that came with the cover (whether included or optional) weren’t robust enough”, and “poles broke under the load of pooling water.”
- Straps and buckles carry the load. Water collecting in the covers loaded the straps and buckles, and the covers often needed bailing after rain or snow.
- Water resistance is not enough. The study separates waterproof from water-resistant covers and advises sticking with waterproof for storage covers. A puddle that sits for days is the hardest test any cloth faces, so a cover that only resists water is the one most likely to let it into the boat.
Add to that what any sagging fabric suffers: stretched cloth that never sits tight again, stitching pulled at the seams around the low spot, and a wet, dark cockpit underneath where mildew grows. Which fabric resists that longest is covered in boat cover fabrics compared.
How a support pole works
Most poles sold for boat covers are telescoping tubes that lock at a chosen height. One cover maker’s pole, for example, adjusts in height from 12 to 54 inches. The parts that matter:
- The top. Usually a rounded “mushroom” or flat cap, often vinyl- or plastic-covered, that spreads the load across the fabric. Some caps snap into a matching snap or pocket sewn into the cover so the pole cannot slide; some are vented so moist air can escape at the peak.
- The foot. A rubber or padded foot, sometimes on a wider base, so the pole does not scratch the deck or skate across it.
- The lock. A twist lock or push-button lock. A pole that slowly slips shorter under load leaves the cover sagging by morning.
A pole only lifts one point. A support system pairs a central pole with straps run to the bow and stern, so the pole stays upright and the straps carry a ridge along the boat; a ridge-line strap does a similar job without a pole, running fore and aft under the cover from a high point to a high point. These spread the lift over a longer cockpit than a single pole can, and they keep the pole from tipping when the cover moves in wind.
Where to put the poles and how many
The cover maker’s instructions quoted above give no number of poles per foot of boat; they say to support “any low areas” where the cover could sag. Some retail guides do offer pole counts by boat length, without saying where the numbers come from. The honest rule is that the count follows the low spots: start with one pole in the middle of each sagging span, then add or move supports where water still stands after rain. A wide, flat deck is the exception to “one per span”, because a single central pole lifts the middle and leaves the sides to sag. This table matches what is seen after rain to the fix.
| What you see | Likely cause | Fix |
|---|---|---|
| One pool in the cockpit behind the windshield | Long unsupported span | One pole near the middle of the span |
| Pools both in front of and behind the windshield | Two separate low areas | Two poles, one in each |
| A pool that forms beside the pole | Pole too short or cap too small | Raise the pole; use a wider cap |
| A long trough along the centerline | Span too long for one pole | Strap support system or a ridge line |
| Sagging along both sides of a wide, flat deck | One central pole cannot lift the whole width | Spread supports across the beam, or use a support system |
| A dip where a strap crosses the cover | Strap pulling the top down | Re-route or loosen that strap |
| Pools after every rain despite poles | Cover too large or straps loose | Tighten straps; check the size |
A figure that does circulate is a shrink-wrap rule, not a cover rule: a shrink-wrap maker’s diagrams call for a minimum of one support post for every 6 feet of length under its wrap. That applies to shrink wrap over a wooden and strapping frame. Do not use it to count poles under a fitted fabric cover.
Setting up a support pole, step by step
Follow the instructions that came with the cover or the pole first; this is the general order.
- Fit the cover loosely. Drape it from the bow, pull it below the rub rail all round, and buckle the straps without cinching them. Leave enough slack to reach underneath.
- Pad sharp points. A cover maker advises covering windshield corners and other sharp points with cloth or a sponge, so they do not stress or tear the fabric. The BoatUS Foundation study found new wear points appearing as covers settled, so check again after a few weeks.
- Place the pole under the lowest spot. Stand it on a flat, solid part of the deck or cockpit sole, not on a cushion that will compress or a hatch that can flex. Seat the cap in the cover’s snap or pocket if it has one.
- Raise it gradually. Extend the pole until the fabric slopes away from the cap in every direction. Look along the cover at eye level: no part of the top should be flat.
- Tension the straps. Now cinch all the straps evenly, as the cover maker’s instructions describe, so the cover is tight from bow to stern. Tightening often lowers the peak a little; raise the pole again if needed.
- Check it is upright. A leaning pole moves the low spot downhill and can kick out. Re-seat it until it stands straight.
- Pour a test. A bucket of water over the top shows where it runs and where it stays, before the weather does.
How the straps are routed to the trailer, and how to keep them tight on the road, is covered in tying down a boat cover.
Tension: the other half of the job
A pole holds up the middle; tension keeps the slopes from it smooth. A cover with loose straps forms ripples that hold water even with a pole in place. Covers also settle and straps loosen with time, which is why the BoatUS Foundation staff inspected their test boats every other week to readjust covers and straps. Re-tension after the first wet spell and whenever the hem starts to ride up. Do not overdo it: a cover pulled drum-tight puts the load on seams, buckles and the pole cap instead of spreading it.
One firm rule from the BoatUS Foundation study: never tie a cover to jackstands. In strong wind or heavy precipitation the pull can drag the stands out from under the boat.
Rain, snow and winter: what poles cannot do
A support pole and a fitted cover are a good answer to rain during the boating season. They are a weak answer to a winter outdoors in snow country. The BoatUS Foundation study found that most covers “require a wood or metal frame for support” and that the supplied poles were not strong enough. Boating magazine notes that a fitted cover “might require some support in the boat” and that “telescopic poles are common”, but also that a tarp needs an internal frame or support to keep its shape so rain and snow run off.
For a winter outside:
- Build or buy a frame that gives the cover a real pitch along its whole length, not just one peak.
- Clear snow before it piles up; the guide to snow on a boat cover covers how to do it without tearing the fabric.
- Consider whether shrink wrap, which is supported by strapping across open spaces, suits the boat better; boat cover vs shrink wrap sets out the trade-offs.
- Check the storage contract. The same study notes that some yards require shrink wrap for boats in rack storage, because the weight of pooled water could cause a collapse.
Discover Boating’s fall lay-up advice also asks that winter covers be padded against chafe, well secured against buffeting and well ventilated underneath. A pole with a vented cap helps the last point but does not replace proper vents.
Checking after rain and snow
Covers move: straps loosen, poles shift and fabric settles. The BoatUS Foundation study advises regular checks, especially after snow or heavy rain, and removing pooled water. A quick round after each storm:
- Walk round the boat and look for any standing water or dips on top.
- Push water off from underneath or bail it; do not let it sit overnight.
- Check each pole is still upright and seated in its cap.
- Re-tension any strap that has gone slack.
- Look at the fabric over the windshield corners and pole caps for wear.
Before towing: take the pole out
One cover maker’s instructions are explicit: “Remove the support pole and re-tension straps before transporting your boat.” A pole that shifts on the road can punch through the fabric or fall into the cockpit, and the slack it leaves when it moves lets the cover flap. The same maker advises stopping after the first mile to check that every strap is still secure. A strap-type support system tied down to the boat or trailer is a separate kit with its own instructions; read whether it may stay on for towing before leaving it in place. A mooring cover, as BoatTest’s buying guide points out, is made for a boat at a mooring and not for towing at all.
Homemade poles and when a pole is the wrong fix
Owners make poles from wooden dowels, pipe and adjustable household poles, and ridge lines from rope. They can work if both ends are padded, the foot is secured so it cannot walk, and the cap is broad enough not to wear through the fabric.
A pole will not save a cover that is the wrong size, a cover made from water-resistant cloth left out through a snowy winter, or a cover that has already stretched into a permanent bowl. In those cases the answer is a better-fitting cover, a frame, shrink wrap, or indoor storage, and a marine canvas shop can tell whether an old cover can be taken in or needs replacing.
Common questions
Do I need a support pole for my boat cover?
If any part of the cover is flat or dips between the windshield and the stern, yes. A cover that is tight and peaked everywhere, such as one over a closed bow with no open cockpit behind it, may shed water without help. The test is simple: after the first rain, look for any spot where water stands.
How many support poles do I need?
One for each place the cover sags, rather than a number per foot of boat. A runabout with an open bow and an open cockpit often has two low areas, one either side of the windshield, and needs two poles; a long open cockpit may need a pole system that spreads the lift along its length.
How tall should a boat cover support pole be?
Tall enough that the fabric around it slopes away in every direction with the straps snug, and no taller. Behind a windshield, that usually means a peak at or a little above the windshield frame, so the fabric runs downhill from it to the stern. Raise it a little at a time with the cover on; a pole set too high strains the seams around the cap and can pull the hem up off the rub rail.
Can I tow my boat with the support pole in place?
One cover maker's instructions say to remove the support pole and re-tension the straps before transporting the boat. A pole standing on a moving deck can shift, punch into the fabric or fall, and a cover loosened by a pole flaps at road speed.
Can I make my own boat cover support pole?
Yes, and owners often improvise with wood, pipe or rope ridge lines, especially for winter. Nobody has rated a homemade pole's strength, and even the poles supplied with covers broke under pooled water in the BoatUS Foundation test, so check a homemade one after every heavy rain and never count on it to hold snow.
Sources
Read next
Custom, styled-to-fit or universal: which boat cover fits
Custom boat covers vs styled-to-fit and universal: how each is cut and sized, when each is the right buy, and how to find a custom fit cover for your boat.
How to tie down a boat cover for trailering
A trailerable boat cover survives the highway only when it is fitted bow first, pulled under the rub rail and strapped to the trailer frame. Steps and checks.
Boat cover fabrics compared: polyester, acrylic and canvas
Boat cover fabric explained: polyester, solution-dyed acrylic, cotton canvas and vinyl-coated polyester, denier vs ounces, waterproof vs breathable, labels.
Bimini tops for boats: choosing bows, frame and fabric
How to choose a bimini top: 2, 3 or 4 bows, aluminum or stainless frame, round or square tube, acrylic, polyester or vinyl fabric, mounts, boots and pontoons.
How to measure for a bimini top: width, length, height
How to measure for a bimini top: mounting width between the mounts, length front to back, frame height from the mount up, plus headroom and folding clearance.